The Amazon listing checklist we use before any product goes live
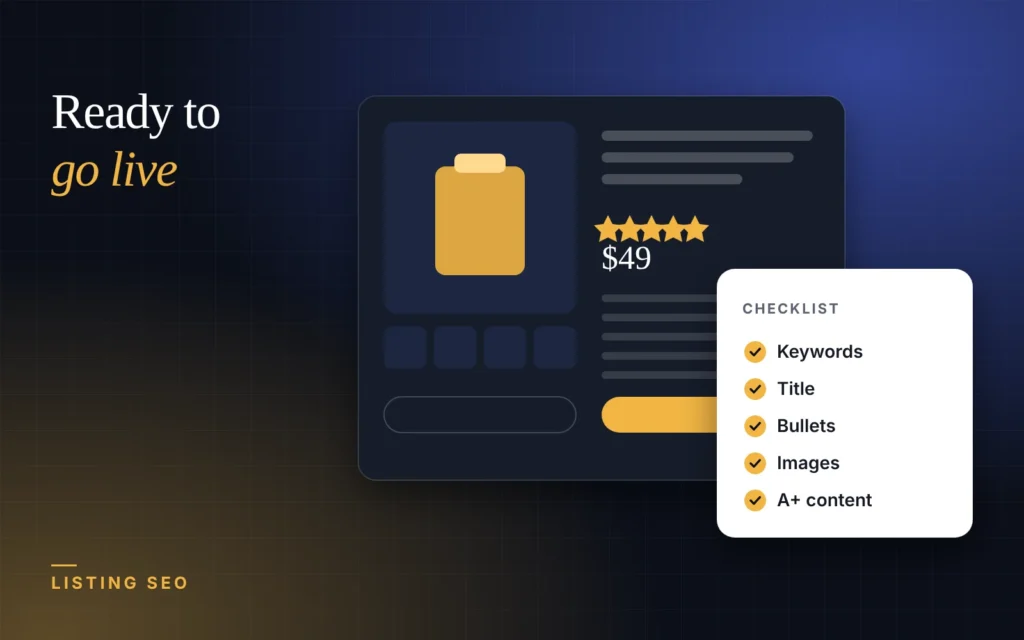
Most listings fail quietly. They get a few views, no sales, and the seller blames the product. In my experience the listing is the problem far more often. This is the checklist we run before anything goes live.
Keyword research first
Before writing a word, build a keyword list from what shoppers actually type: Amazon’s search suggestions, competitor titles and a research tool. Group terms by intent — the main product term, key features, use cases and audience. The aim is coverage without stuffing.
Title
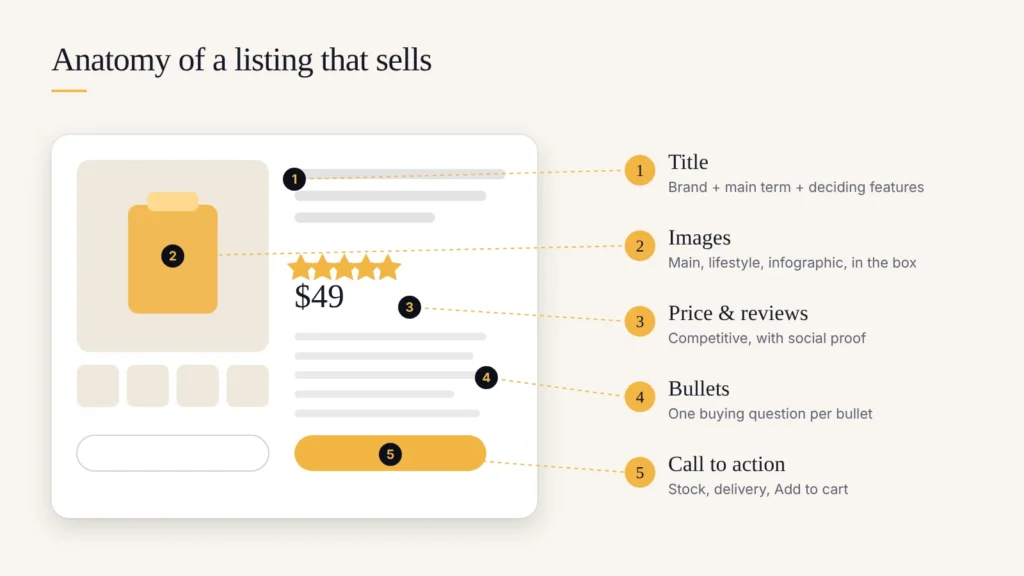
- Lead with the brand and the main product term shoppers search for.
- Add the one or two features that decide the purchase (size, material, quantity, compatibility).
- Follow the category’s style guide and character limits — a suppressed listing earns nothing.
- Write for a human reading on a phone, not for an algorithm.
Bullet points
Each bullet should answer one buying question: What does it do? What is it made of? Will it fit? What is in the box? Why is it better? Start each with a short benefit in capitals, then the proof.
Images
- A clean main image that meets the marketplace’s requirements and is instantly recognisable as a thumbnail.
- Lifestyle images that show the product in use and at real scale.
- An infographic for dimensions and key specs.
- A “what’s in the box” image to cut returns and questions.
A+ content and backend terms
If you are brand-registered, use A+ content to tell the brand story and compare variations. Fill backend search terms with relevant synonyms and spellings that did not fit naturally in the visible copy — never competitor brand names.
After launch
A listing is never finished. Review the search terms that bring traffic, watch conversion, read every customer question and review, and update the copy and images to answer what people keep asking.
The best listing is the one that answers the shopper’s next question before they ask it.